Showing posts with label display. Show all posts

Friday, December 6, 2013

Flowery art installation in the Flat Iron Building

My walk home the other night took me past a wonderful installation in New York's famous Flatiron Building, giving me my daily dose of inspiration. The building is home to the Prow Art Space, a public art space where work is visible 24 hours a day, in a small dimensional glass triangle. The space is as unique as the art inside it and was recently home to a 3D version of Edward Hopper's Nighthawks.

The current installation called Flora Sutra L=T-V, by artist Serena Gidwani Buschi, couldn't be more different. Dozens of lotus flowers appear to be floating in the air, suspended from string or perched atop glass tubes. The style of each varies, and together creates a wonderful, colorful garden in the urban space.  Here are a few of my pics, and you can read more about the artist and the work here.

Some onlookers check out the space

Pretty flowers

These are see through, not sure of the material 


Close up of one flower, covered in flower patterns 


Floaters


Wednesday, October 23, 2013

Layer on the good times: Making a terrarium

There's a great boutique in my neighborhood that not only has cool clothes and housewares, but also offers the occasional craft class!  This month at Kanibal Home, Tim Ilch of JC Aquaria ran a workshop on terrarium building.


I've always wanted to make a terrarium but was super turned off by the though of all the things I'd have to acquire, including charcoal, as some sources recommend (which seems like a huge mess).  Turns out it's quite simple. For the container, we were given the most giant mason jar I've ever seen. Building the terrarium simply involves layering rocks and soil, adding plants, and then embellishing with mosses, sticks, leaves, and other natural and non-natural trinkets.

Pictured: The rare exotic styrofoam bird

Go for texture as well as color.  Tim had foraged a lot of the ingredients he gave us, which sounds more fun and unexpected than going to the store and buying them.

Natural neon green. 

As it turns out, terrariums don't have to be covered (news to me), so I left the lid off since I had some plants sprouting out the top.

Looks like a long way down

We even got these cute little booklets with graphic instructions and room to take notes.

You know I loves a handmade book

In conclusion, terrariums—a mini world that's fun and easy to make.  I love giving plants as housewarming gifts and a homemade terrarium like this could be made so personal.  Also check out the cool stuff from JC Aquaria and Kanibal Home, who has an online store in case you're not local.

Tuesday, September 10, 2013

DIY Quick and Easy washi tape bunting


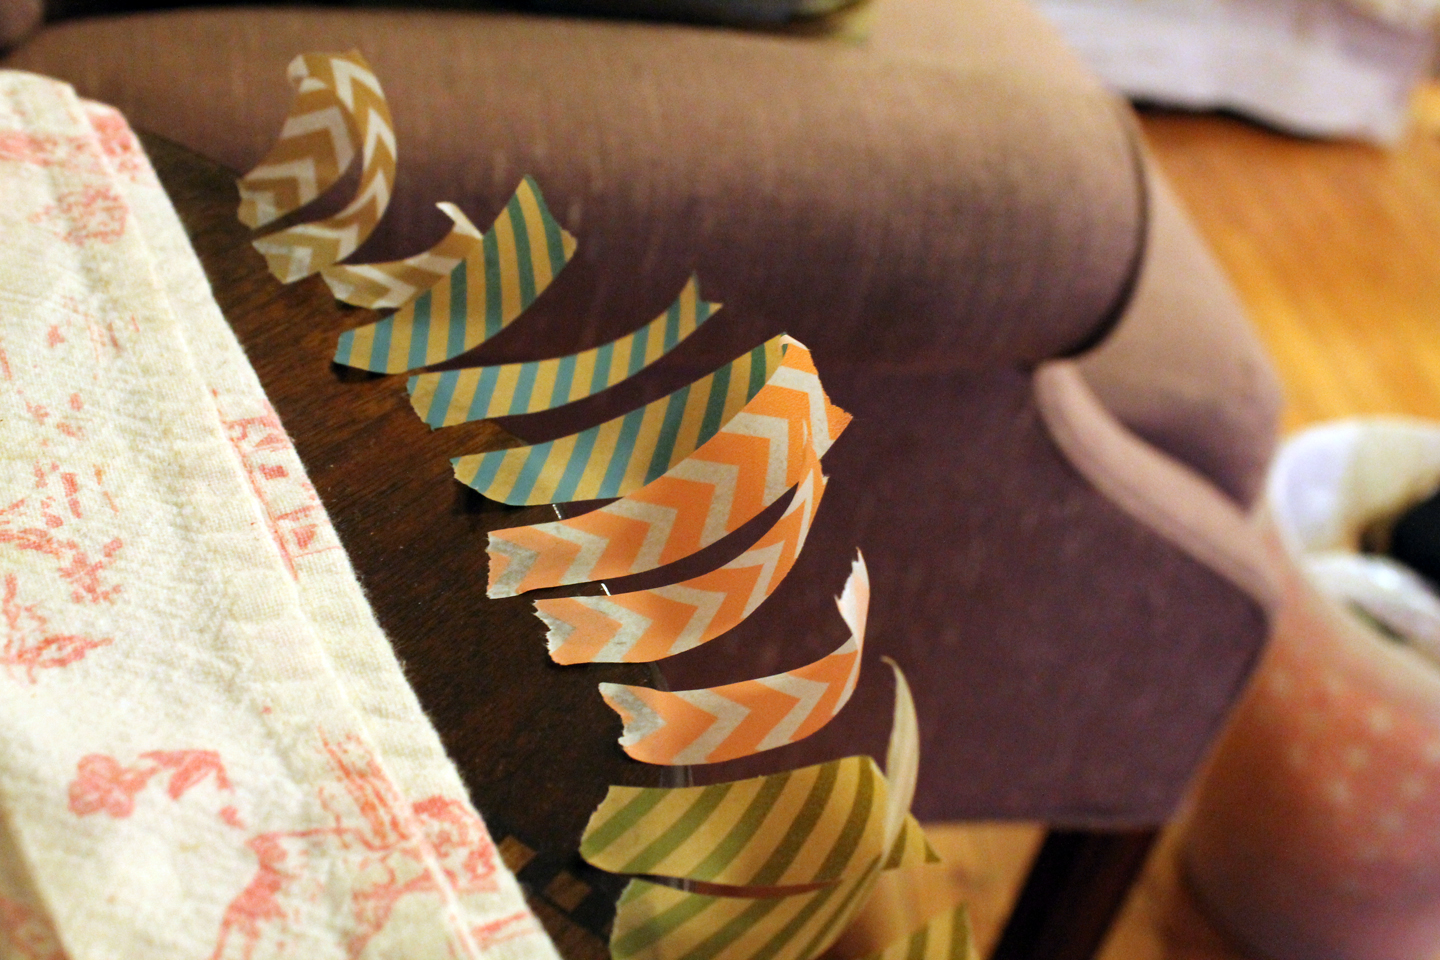
Here's another quickie garland to add to your repertoire, adding to the 20 minute paper button garland I posted a few months back. This project is very simple and doesn't require much instruction at all. Just fold small pieces of washi tape over a thin cotton string and snip the ends. I chose to do little Vs at the end of mine, but semicircles, fringe, patterned craft scissors—really anything will work here. Here are a few tips.

Pick washi tape that coordinates a little better than mine.

More cheery?

Tear off your tape ahead of time and line it up so that you can work quickly.

Mise en place

It will be easier to put the tape on the string if you have it at tension, so tie or tape it between two stable things.

Tighten up!

When you reach your desired length, find a pretty spot to put it, like a mirror or picture frame.  You can even tape each end to a skewer and pop it atop a cake!


Wednesday, June 12, 2013

The wolf

The art store in my Jersey City neighborhood displays murals on their outside wall, and the current one is particularly awesome.


I love the contrast of the fierce, radioactive wolf against the sad Disney bunny and the geometric shapes mixed with the eerie forest. Or maybe I can't get enough of neons. Either way I'm going to enjoy walking past it every day.  

He won't think twice about eating you

Smoking is bad, especially for bunnies

Tuesday, May 14, 2013

Ink and watercolor flowers


Last week with Mother's day approaching, I decided to experiment with a new style for card, and it turned out to be one of my favorite pieces that's I've done a while.  It works well as a single flat card that doubles as a frameable illustration, and I'm going to tell you how I did it. A little inspiration from my Pinterest flower board, a print I have at home, and all the ink illustrations I've been doing lately, I set to work sketching out these blossoms.

Free style sketching
I wanted to keep the style feeling loose and organic, so I didn't strive for exact replicas but instead used the images as a guide for the movement of the lines. If you're recreating at home, just a reminder you can do some major damage with an eraser, so you want to sketch as lightly and as little as possible. I'm using some pretty heavy 120lb stock watercolor paper and a 2H pencil which helps a little.

Next I drew over the lines with India ink, adding some variation in thickness. I am in desperate need of a new bottle of ink if anyone is looking for a for-no-reason gift for me. It starts to gunk once it gets to a certain age and I can't seem to find a replacement anywhere. 

Now you can actually see it.

Unlike watercolors, India ink is permanent once it is dried so I was able to do the watercolor last.  You could of course add your color first and ink second if you prefer. It did start to smudge if I pressed too hard with the paintbrush. When I started I wasn't sure if and how much color I would use so that's why I added mine afterwards. To avoid looking hippie psychedelic, I stuck with a 4 color palette of sherbert-y colors. 

Yum
I was so pumped, I even did a second one. 


Definitely going to use this style more in the future.  They didn't even take that long, only a few hours!

Monday, April 15, 2013

Arts and Crafts at the Herb Farm

Well Sweep Herb Farm in Port Murray, NJ

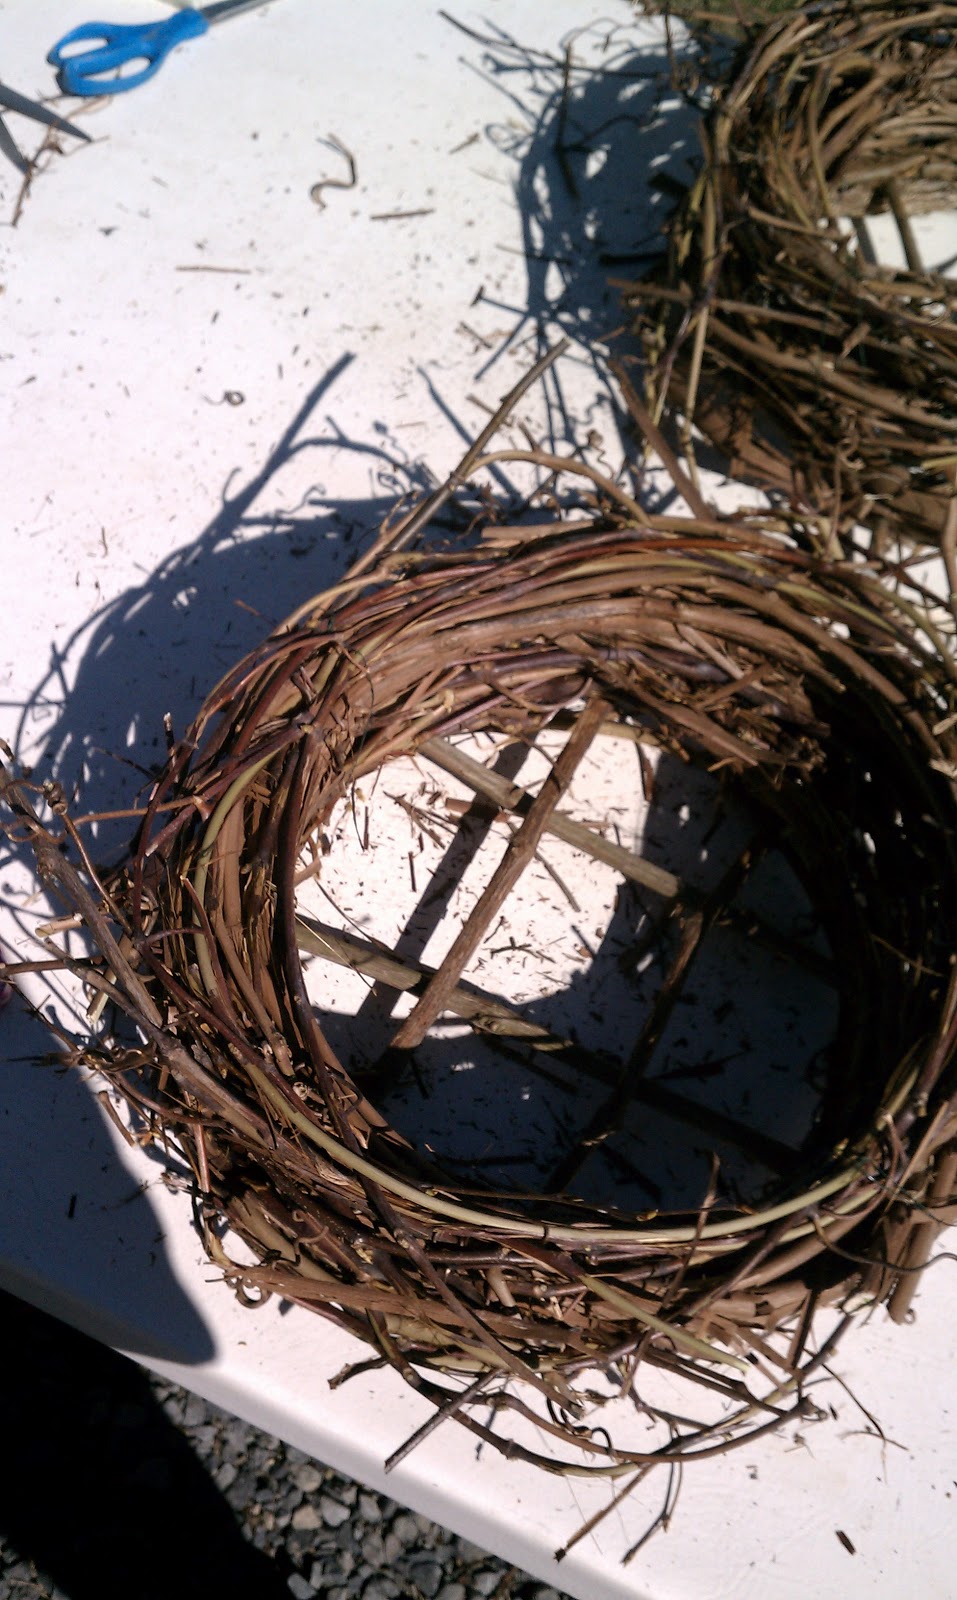
Last Saturday I spent a lovely morning at Well-Sweep Herb Farm where I took a DIY herb planter class with some friends.  I went in there thinking that we'd build a tray and put some basil in it, no biggie, but I was in for a surprise.  For starters, we built the planter by essentially coiling up a nest out of dried grape vine, which is requires the tremendous arm strength and at least two people.

Our tablemates,
whom we hit with the vines a lot

My planter-to-be
We then stuffed it with netting and dirt and planted our choice of 5 herbs.  Mine has rosemary, dill, cilantro and two kinds of parsley. I can't recall the exact names, but it wasn't the normal store-bought variety.

New friends

Here's my finished product:
I intend to not let die

Afterwards we ventured around the farm and greenhouses.  Being on herb farm is a lot like being on a regular farm, except everything is in miniature.  There was even a miniature cat, also known as a kitten.

A crazy variety
Here's a few tall outliers
If fairies exist, they surely live here
More delicious smells and humidity in the greenhouse

If you're local and can make it to Well-Sweep, they offer lots of weekend workshops and are some friendly folk.  Or check out your own local garden centers or farms, they're fun even if, like me, your garden is limited to that planter you just made!  

Monday, March 4, 2013

20 minute paper "button" garland

With a spare gap of time before dinner, and an itch to do something crafty, I made up this quick paper garland with in just a few easy steps.  All you need is the right tools and 20 minutes--it's easy as pie!

Spice up your generic lamps

Monday, February 18, 2013

Celebrating 2 years with a throwback print

Taken by the Hand turned 2 yesterday and to celebrate I ran a few woodblock prints of an old favorite. This was the first block print I'd done since a long post-college hiatus from printing after being inspired by an old piece of poplar I'd found in my parent's basement. The design was one I'd done in Illustrator, something that started out as a doodle but just kept going. It was the melding of digital and hand-made that I'd been seeking.  But alas, my first few print runs were lacking pizazz, a problem quickly solved by jumping on the ombre trend. The original print blends pink and blue ink for a vibrant gradient. This guy holds a special place in my heart, and a specialer place on my wall and the walls of a few friends.

The words came first and inspired the twisting and curling lines,
alluding to graphic vines and roots

So for the refresh I added a third color and instead used yellow, pink and orange.

A little like a sunset

Oddly, these colors remind me of 90s era Oakley sunglasses, and you can judge for yourself whether that's a good or bad thing.  Number two color combo was turquoise-to-blue printed on a sheet of wood paper that'd been sitting in my stash for way too long.  I'd have loved to do the brighter colors on this but didn't think it would show up on the light wood.

Woodblock printed on wood: a world turned upside down

Here's a few more shots.

Group shot!


The block and tools. Pink!

I'm planning on doing a few more color combos when I get some more paper, and putting them up on Etsy along with the new woodblock that I'm working on.  Lots of projects have been done over the last two years and this one got me out of a slump and kickstarted them all!


Tuesday, January 15, 2013

The walls of my new apartment

As I mentioned in a previous post, I started off 2013 with a new apartment. Living by myself, I feel like King in the Castle, and I no longer have to trudge up 4 flights of stairs. On the down side though, I did have to scale down my operation which includes stowing my little desk and having my kitchen table work double duty. I've had to get pretty creative with storage (big kitchen+tiniest bathroom=curling irons in the pantry). Here's a little sampling of some of the decor I've put up, with a few effects added to the photos cover up the fact that the pictures were taken with very poor lighting. At least I'm honest.

Living room
The left image is one of my own prints, it reads "you & me can grow wild together," while the right silkscreen from Brainstorm.

Kitchen
Above my kitchen table/desk, a graphic print of New York City buildings from overhead, a Christmas gift from my big bro.

Bedroom, which is also the living room btw
Perfumes on a cake stand, buffered by my Great Aunt's doily.

The potty
The bathroom, where all my jewelry now lives beneath one of my octopus prints. There's a little bit of a nautical theme going here.

There's just one lingering box that is waiting for me to figure out when recycling day is. Now that everything's in its' place, it's time get through the winter with some new projects!

Wednesday, October 3, 2012

DIY driftwood jewelry holder

Several months ago, I went trolling around the New Jersey side of the Hudson River bay on the hunt for driftwood.  Among the discarded styrofoam cups and syringes was a gem of a piece.  At about 2.5" x 1" and about 2 feet long, it had just the right amount of wear that I knew I'd one day find a purpose for it.  That day turned out to be last Saturday, when I finally used it to create this jewelry holder.


Making it was a piece of cake! Read on to learn how.

Monday, September 17, 2012

Things to love: hand-carved wooden stamps

I pulled these super cool wooden stamps out of the clearance bin at one of those Tibetan new age hippie shops on Bleeker Street.  They would be great as stamps or even displayed on a shelf.


Can't wait to use these!

Tuesday, July 3, 2012

As seen in real life: Graphic marriage certificate

At a recent wedding, the bride and groom had this beautifully illustrated marriage certificate at the end of the isle for all the guests to sign after the recessional. The vines and green shades were a perfect match for their casual, garden ceremony in downtown Philadelphia.  Of course I love the charming typography!


Wednesday, June 27, 2012

Paper in window displays


Paper, being cheap, disposable, and easy to ship, is a popular choice for store window display. I recently came across two beautiful, and very different examples, of cut paper working it behind the glass.

This was spotted outside Made with Love, the little cafe/bakery where I take my friends when trying to prove that I live in a nice neighborhood:

This was about 18" x 24" and looked hand cut

This second, dimensional piece (flowers I suppose) adorned the windows of one of my favorite stomping grounds, Paper Presentation. Sorry the photo is so close up, there was scaffolding I was trying to avoid.

Probably not hand cut
I'll be keeping my eye out for more pretty papers!