Showing posts with label crafts. Show all posts

Wednesday, October 23, 2013

Layer on the good times: Making a terrarium

There's a great boutique in my neighborhood that not only has cool clothes and housewares, but also offers the occasional craft class!  This month at Kanibal Home, Tim Ilch of JC Aquaria ran a workshop on terrarium building.


I've always wanted to make a terrarium but was super turned off by the though of all the things I'd have to acquire, including charcoal, as some sources recommend (which seems like a huge mess).  Turns out it's quite simple. For the container, we were given the most giant mason jar I've ever seen. Building the terrarium simply involves layering rocks and soil, adding plants, and then embellishing with mosses, sticks, leaves, and other natural and non-natural trinkets.

Pictured: The rare exotic styrofoam bird

Go for texture as well as color.  Tim had foraged a lot of the ingredients he gave us, which sounds more fun and unexpected than going to the store and buying them.

Natural neon green. 

As it turns out, terrariums don't have to be covered (news to me), so I left the lid off since I had some plants sprouting out the top.

Looks like a long way down

We even got these cute little booklets with graphic instructions and room to take notes.

You know I loves a handmade book

In conclusion, terrariums—a mini world that's fun and easy to make.  I love giving plants as housewarming gifts and a homemade terrarium like this could be made so personal.  Also check out the cool stuff from JC Aquaria and Kanibal Home, who has an online store in case you're not local.

Sunday, September 29, 2013

Goodies from the Peter's Valley Craft Fair

Being a native of Sussex County, NJ, it's a wonder that I've never been to this craft fair before.  Peter's Valley Craft Center is a non-profit art center offering classes and workshops for both adults and children in a variety of mediums including ceramics, jewelry, photography and glass. Located near the Delaware Water Gap in Layton, NJ, attendees can even stay on the grounds of this beautiful rural area while they take longer workshops.  The annual craft fair is held at the Sussex County Fair Grounds because it's so large, and I was blown away by the quality and quantity of work.

The majority of goods there were pottery, jewelry, knits, and photography, with a few others crafts thrown in there.  Though I couldn't take photos at the event, I did restrain myself to buying a few things.

This first one is an adorable plate from Natures Nest Pottery, featuring Russian nesting dolls, that I went loco for and had to have.


Gorgeous colors

Awesome detailing
I picked up a few of these whimsical brass ornaments from Aurna Enterprises.  They have a zillion and there all adorbs.

Verdigris finish like the Statue of Liberty


And lastly, one of these beautiful leaf bowls from The Clay Cellar pottery.  I can't reveal which one, since it's a gift for someone who reads this blog!

Image via theclaycellarpottery.com

Be sure to mark your calendar for next years fair! Until then, check out a few more of my favorites from the show.

Diarama-esque shadow boxes from Working Birds Studio
Everything from the artists at the Potters' Guild of New Jersey
Lawn decor from Iron Art Studio
Gorgeous stones in the jewelry of Hudson Valley Goldsmith
  

Friday, July 12, 2013

Colorful Dreamcatcher Art

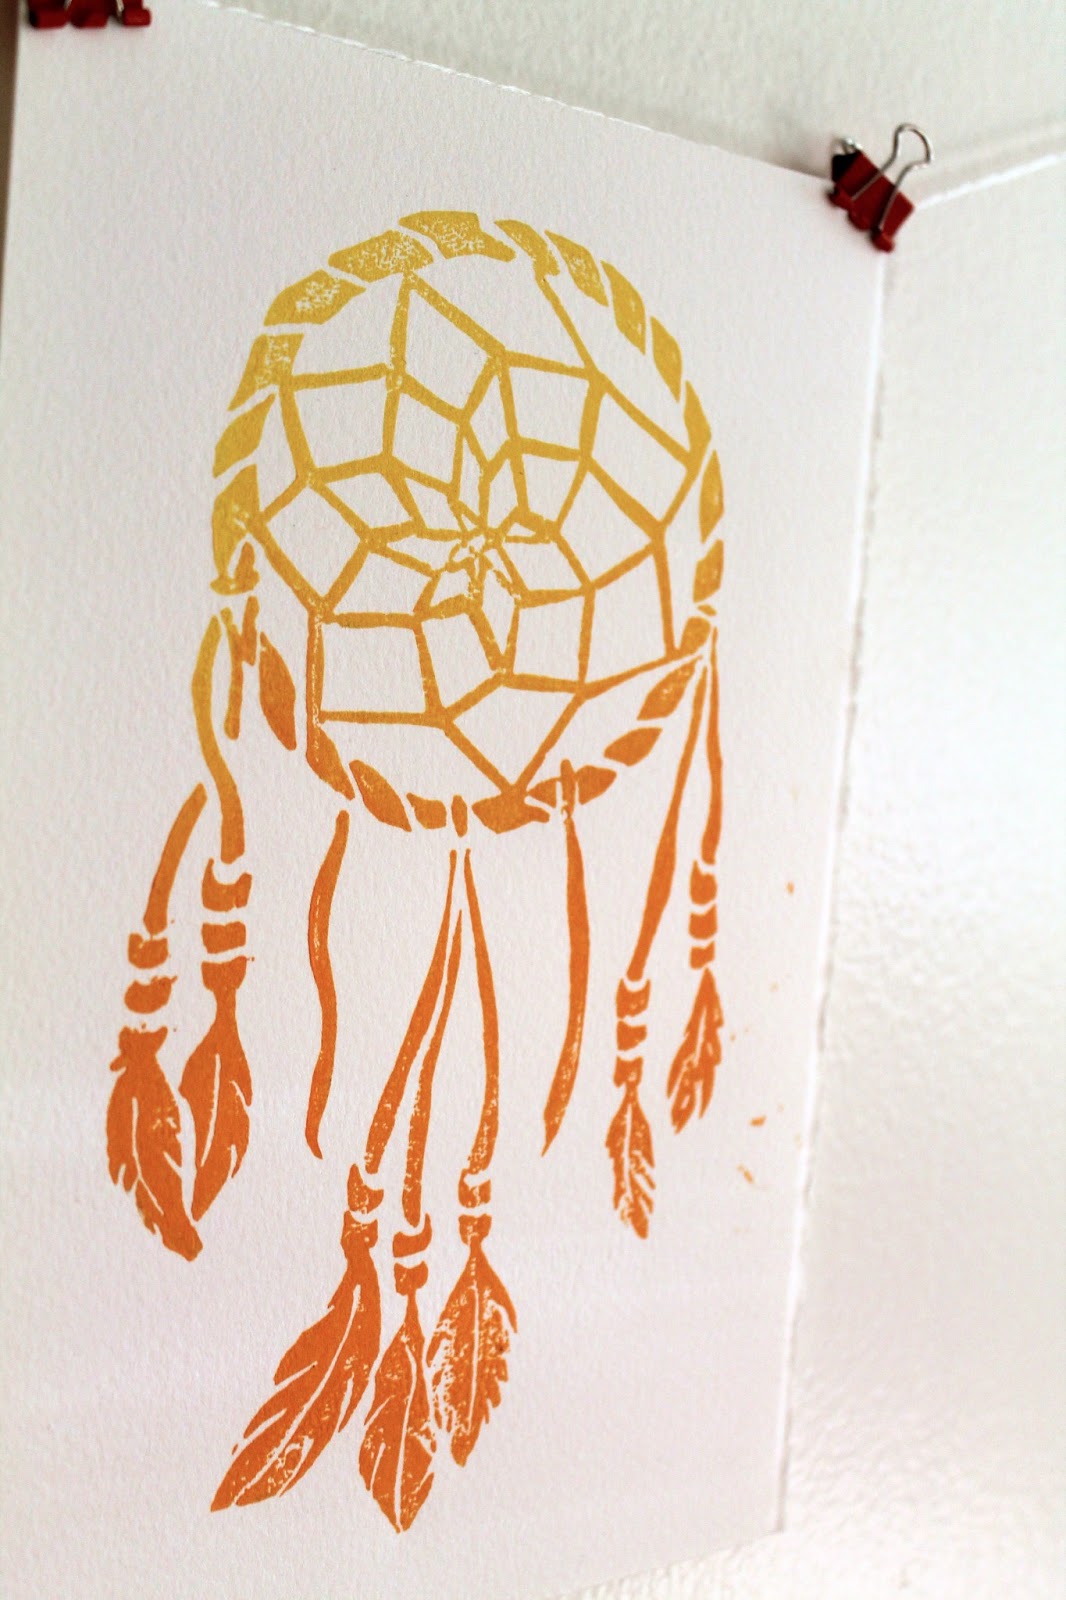
After my recent trip to the Utah and Arizona, I was feeling the inspired by the brilliant colors and native spirit of the southwest. I got a little caught up in the vacation mindset and bought a dreamcatcher from a little mountain shop.  I built one from a kit when I was just a little guy (one of the many craft kits that actually resulted in a finished project), so when I got home, I decided to make an adult version (in a totally SFW way). The result is these linocut prints in yellow/orange and gold.

Very Boho

Gold, or dorado

Both colors are available to purchase in the Etsy shop, Lightheart Paper Company, orange and gold.

Unlike a lot of my other prints, this one I drew entirely by hand, no Adobe Illustrator involved.  Here's the sketch, which started in pencil and ended in sharpie.


Originally I had intended to add some text at the top saying "Sweet Dreams," which you can see ghosts of in the sketch, but in the end it seemed better to leave it off.  I may add it as separate stamp in the future, that way it can be printed with or without the text.

I'm going to hang one or two of these above my bed with the real one in hope that I can stop having the dream where I am in school but don't know where I'm supposed to go!

Tuesday, May 14, 2013

Ink and watercolor flowers


Last week with Mother's day approaching, I decided to experiment with a new style for card, and it turned out to be one of my favorite pieces that's I've done a while.  It works well as a single flat card that doubles as a frameable illustration, and I'm going to tell you how I did it. A little inspiration from my Pinterest flower board, a print I have at home, and all the ink illustrations I've been doing lately, I set to work sketching out these blossoms.

Free style sketching
I wanted to keep the style feeling loose and organic, so I didn't strive for exact replicas but instead used the images as a guide for the movement of the lines. If you're recreating at home, just a reminder you can do some major damage with an eraser, so you want to sketch as lightly and as little as possible. I'm using some pretty heavy 120lb stock watercolor paper and a 2H pencil which helps a little.

Next I drew over the lines with India ink, adding some variation in thickness. I am in desperate need of a new bottle of ink if anyone is looking for a for-no-reason gift for me. It starts to gunk once it gets to a certain age and I can't seem to find a replacement anywhere. 

Now you can actually see it.

Unlike watercolors, India ink is permanent once it is dried so I was able to do the watercolor last.  You could of course add your color first and ink second if you prefer. It did start to smudge if I pressed too hard with the paintbrush. When I started I wasn't sure if and how much color I would use so that's why I added mine afterwards. To avoid looking hippie psychedelic, I stuck with a 4 color palette of sherbert-y colors. 

Yum
I was so pumped, I even did a second one. 


Definitely going to use this style more in the future.  They didn't even take that long, only a few hours!

Wednesday, May 1, 2013

Watercolor wishes

This watercolor illustration has been a long time in the making. I hesitated on it for a while because I couldn't find the right words and wanted to use my own instead of a quote. It was, however, inspired by a meditation/prayer which I learned on my spiritual journey, but was unable to trace the origin of, "May you be happy, may you be healthy, may you live with ease."  You're supposed to say it to yourself when someone has pissed you off or has caused some deep therapy-necessitating emotional damage.  This one is more suited for a new home or marriage.

It's like, my version of an Irish wedding blessing

While technically I "hand drew" the letters, I did pretty much copy actual fonts while adding embellishments.

Cheater, cheater, pumpkin eater. Wait those aren't the words.

The colors aren't playing nice together and I don't like what's going on with the wind illustrations here. So those are changes that I'll be addressing in the next round.

You can even still see pencil marks--someone's lazy!

I do like the sunshine!

So there's the beta version, a happy wish for friends and enemies alike.

Monday, April 15, 2013

Arts and Crafts at the Herb Farm

Well Sweep Herb Farm in Port Murray, NJ

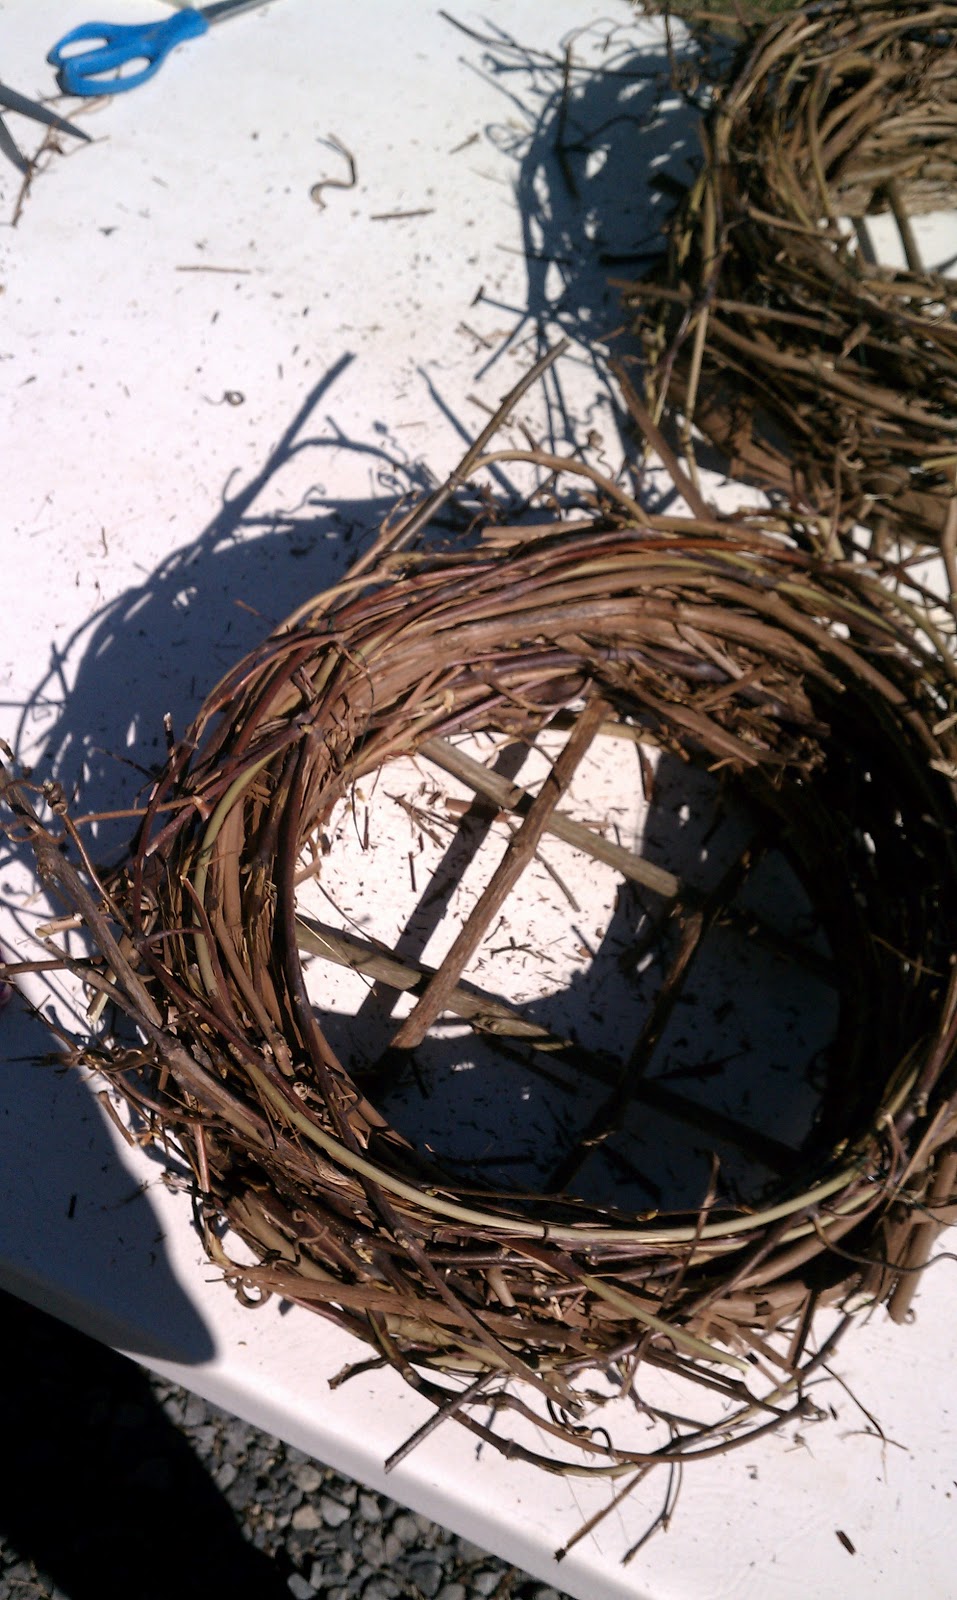
Last Saturday I spent a lovely morning at Well-Sweep Herb Farm where I took a DIY herb planter class with some friends.  I went in there thinking that we'd build a tray and put some basil in it, no biggie, but I was in for a surprise.  For starters, we built the planter by essentially coiling up a nest out of dried grape vine, which is requires the tremendous arm strength and at least two people.

Our tablemates,
whom we hit with the vines a lot

My planter-to-be
We then stuffed it with netting and dirt and planted our choice of 5 herbs.  Mine has rosemary, dill, cilantro and two kinds of parsley. I can't recall the exact names, but it wasn't the normal store-bought variety.

New friends

Here's my finished product:
I intend to not let die

Afterwards we ventured around the farm and greenhouses.  Being on herb farm is a lot like being on a regular farm, except everything is in miniature.  There was even a miniature cat, also known as a kitten.

A crazy variety
Here's a few tall outliers
If fairies exist, they surely live here
More delicious smells and humidity in the greenhouse

If you're local and can make it to Well-Sweep, they offer lots of weekend workshops and are some friendly folk.  Or check out your own local garden centers or farms, they're fun even if, like me, your garden is limited to that planter you just made!  

Monday, March 11, 2013

Quick Personalized Stationary

As you can probably tell from my frequent post about cards, I love sending mail. When a boxed card just won't do, and you are short on envelopes, it's easy to whip up a quick, personalized bit of stationary using stamps, cover stock, and some fun paper. 

Leave a pretty note on the car you hit and the owner can't be mad.

To create a unique envelope, simply deconstruct another envelope (make use of that junk mail), trace the shape onto scrapbook paper or some other lightweight paper, cut and reassemble.  Cut your cover stock to fit inside and adorn with your personal monogram or anything else you can come up with.  Don't limit yourself to stamps either!  Now you can write your correspondences like they are always doing on Downton Abbey when they aren't killing off main characters.

A heartfelt apology.

Now you have a very personal note ready in 10 minutes or less!  I'm sensing a "quick and easy" theme starting to emerge for March.


Monday, February 18, 2013

Celebrating 2 years with a throwback print

Taken by the Hand turned 2 yesterday and to celebrate I ran a few woodblock prints of an old favorite. This was the first block print I'd done since a long post-college hiatus from printing after being inspired by an old piece of poplar I'd found in my parent's basement. The design was one I'd done in Illustrator, something that started out as a doodle but just kept going. It was the melding of digital and hand-made that I'd been seeking.  But alas, my first few print runs were lacking pizazz, a problem quickly solved by jumping on the ombre trend. The original print blends pink and blue ink for a vibrant gradient. This guy holds a special place in my heart, and a specialer place on my wall and the walls of a few friends.

The words came first and inspired the twisting and curling lines,
alluding to graphic vines and roots

So for the refresh I added a third color and instead used yellow, pink and orange.

A little like a sunset

Oddly, these colors remind me of 90s era Oakley sunglasses, and you can judge for yourself whether that's a good or bad thing.  Number two color combo was turquoise-to-blue printed on a sheet of wood paper that'd been sitting in my stash for way too long.  I'd have loved to do the brighter colors on this but didn't think it would show up on the light wood.

Woodblock printed on wood: a world turned upside down

Here's a few more shots.

Group shot!


The block and tools. Pink!

I'm planning on doing a few more color combos when I get some more paper, and putting them up on Etsy along with the new woodblock that I'm working on.  Lots of projects have been done over the last two years and this one got me out of a slump and kickstarted them all!


Thursday, February 14, 2013

Happy Valentine's Day!

Happy V-day! 8-bit style love to my readers!

Conversation heart puffy stickers by Hallmark courtesy of Dad.

Friday, December 21, 2012

DIY Christmas gifts for my bffs

This year, a few of my very good friends will be getting some very special Christmas presents: Ke$ha themed ornaments.  Be honest music elitists—Ke$ha sings a good party song. And although I don't really consider myself a party girl, my friends and I won't deny it's fun to dance around to her raunchy, catchy jams.  Now that I've defended myself I'll show you what I've created.

Hey girl, hey
These mini bottles purchased from Amazon were filled with glitter from confetti.com in the party rockin' shades of watermelon and prisma silver (because I guess there are a lot of silvers). I created the labels in photoshop with lyrics from her infamous single Blow, "Go insane, go insane, throw some glitter, make it rain."

Words to live by

In case you haven't seen the video, it stars Dawson Leary so I highly recommend watching it.  Tie some hemp cord around the bottle neck and you've got a top Christmas present perfect for the friends you met in Catholic school.

The hollerdays are a special time of year
It's pink, so you know it's for girls

Party on, friends.

Monday, December 17, 2012

Recycled holiday gift tags

Sadly this December hasn't been my craftiest holiday season, and though I'm bursting with ideas, I just haven't had the time to do many of them.  Blame a heavy work load, an increased interest in baking, and finding out that I have to move at the end of the month.  The next week leading up to Christmas is going to be heavily creative to make up for it (I hope, I may have just put a lot of pressure on myself).

To kick things off, here are some gift tags made with recycled grocery bags, stamps, and baker's twine.  I found it best to double layer the bags and hold together with rubber cement to make them a little sturdier, then cut into shape and attach the string last.  Simple, quick, easy, and cheap!

Rubber stamps were Martha Stewart except for the star,
which I made out of some leftover linoleum

Joy: A nondenominational message we can all appreciate

Wednesday, October 3, 2012

DIY driftwood jewelry holder

Several months ago, I went trolling around the New Jersey side of the Hudson River bay on the hunt for driftwood.  Among the discarded styrofoam cups and syringes was a gem of a piece.  At about 2.5" x 1" and about 2 feet long, it had just the right amount of wear that I knew I'd one day find a purpose for it.  That day turned out to be last Saturday, when I finally used it to create this jewelry holder.


Making it was a piece of cake! Read on to learn how.

Saturday, April 28, 2012

Toile wedding invitations

Courtney is one of my best childhood friends and the most efficient wedding planner I've ever met. She had almost everything in order close to a year in advance, the benefit of being a teacher and having the summer off.  I'm lucky enough to not only be a member of the wedding party, but also to get to design the stationary for her and her fiance, Mark.

The inspiration for the set came from the toile china that the bride's mother had.  Her flowers will be hydrangeas, picked from her grandmother's garden.  With those two things in mind, the design came together easily in my mind, executing it was another story.  I attempted photographing, photoshopping, and drawing, but nothing seems to get that toile look.  There's lots of toile stuff out there, but finding hydrangeas proved very difficult. Luckily I stumbled upon my saving grace, Wikimedia Commons, which offers freely licensed and public domain images (that means use them without fear of being sued). Nice!  A little photoshopping and the rest came together for a classic and elegant look.


Printed on bright white felt stock.