Making it was a piece of cake! Read on to learn how.
At first I was against displaying my mess of cheap jewelry for all eyes to see. But once you see something enough times on Pinterest it starts to appeal to you. Instead of using drawer pulls or fancy hooks, I settled for regular ol' cup hooks, available at any hardware or box store.
 |
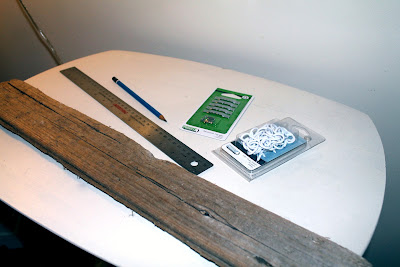
| Whatcha need |
You'll need:
- A ruler
- A hammer and nails to hang up
- As many cup hooks as you desire (I used 9).
- Sawtooth picture hangers
- Fairly flat piece of driftwood, or other soft wood, whatever size you like
 |
| Cup hooks are self-driving, so screwing them in is effortless unless you are a weakling. |
Step 1: Attach the hangers
Center the sawtooth hanger on the back side of the driftwood and attach according to the package instructions. Depending on how long the piece is, you may need to use two hangers, in which case attach them equidistant from center.
Step 2: Attach the hooks
Flip your wood over and find the center. Mark the spot with a pencil. Continue marking spots every 2 inches until you reach the end of the board. Repeat on the left side of center. Screw a cup hook into each mark.
 |
| This is how I imagine life as an architect. |
Feel free to modify the number of hooks and distance between them to suit your needs. Also, if using a well-weathered piece of wood, it likely won't be straight, which allows one to be lazy and imperfect.
Step 3: Hang it up and show off your gems.
 |
| No more tangles. |
This easy, 10 minute project has shaved at least 30 seconds off my morning routine!


No comments:
Post a Comment