Showing posts with label DIY. Show all posts

Saturday, November 9, 2013

Easy Crochet Red-Nose Reindeer Baby Hat

The holiday excitement has hit me early this year, so I'm taking it out on crochet.  Knitting and crochet are winter activities for me—I just can't get all tangled up in wool yarn in the hot summer months.  Last year I didn't do much crochet, but now that I've got some little muses in the form of my friends' kids, I'm back with a vengeance.  First project of the season: reindeer hats!

Image via JTeasycrochet

I sucked it up and bought an instant download pattern from Etsy, which was totally worth it.  I usually try to find something for free but there's a lot of sorting through the very cheesy junk. Plus this has easy instructions and pictures.  I made two, one for 0-3 month old Julia, and the other for 3-6 month Arianna. I wanted to get them done in advance so they could be worn throughout the Christmas season.

You need 4 yarns altogether, and I strayed slightly from what the pattern suggested so I could use what I had instead of buying an entire skein to make two tiny eyes. I used:
-For the head, Lion brand silky twist, super bulky #6 in Oatmeal
-For the antlers and ears, Lily Sugar 'n Cream #4 worsted weight in Ecru
-For the nose, some leftover maroon worsted weight, not sure of the details
-For the eyes, Lion brand Wool Ease #6 in Charcoal

Baby hat, minus the baby

You can crochet this pretty fast since baby heads are so small.  The pattern was very easy, beginner level, the trickiest part was attaching the ears and antlers.  I recommend using a tapestry needle to sew them on.

Sew them tight so they stand up

I don't have a baby to model it on, so here it is  eating a lamp, and looking a bit like Fozzie Bear.


Again, if you want to give it a shot you can pick up the pattern at the JTeasycrochet Etsy shop

On another note, happy 111th post!

Saturday, October 26, 2013

DIY Glittery Spiderweb Halloween Cards with template


Last October, Hurricane/Superstorm Sandy prevented most Halloween celebrations, and although I don't usually get too into the holiday, having a year off may have been just what I needed to get the spirit back.  For my cards this year, I'm going all the way with glitter. 

Using some regular Elmer's Glue and black glitter, these spiderweb cards are a synch to make. You can freehand a spiderweb design, or download and trace the template I've created from my sketch. Obviously you could glitter up anything, for any occasion, but hey, let's focus on the coming holiday.


Step 1: 
Create a spiderweb design freehand, or download and trace the template I've created from my sketch. Remember to keep your pencil marks light.

Step 2: 
Trace over the drawing with white glue.  I used a toothpick to get in small areas or to clean up any slips (there will be some).  Hold the bottle at an angle to prevent it coming out in globs and work in small sections so that glue doesn't dry before you can add the glitter. Superfine glitter will work best on these thin lines.

Step 3:
Sprinkle glitter over top. Let stand about 30 seconds, and then tap off excess.  You can go back in with a toothpick and clean up any smudges.  I like how non-uniform the lines are, it almost give the feel of water droplets on the web.

Optional: To keep glitter in place, cover the card with 1-2 coats of acrylic spray.  I used Krylon Crystal Clear Acrylic.  Make sure to spray in a well ventilated area. Right outside your front door with the door open so all the fumes go back in the house is not considered a well ventilated area (I'm telling myself this).  

Have a spooky Halloween!

Wednesday, October 23, 2013

Layer on the good times: Making a terrarium

There's a great boutique in my neighborhood that not only has cool clothes and housewares, but also offers the occasional craft class!  This month at Kanibal Home, Tim Ilch of JC Aquaria ran a workshop on terrarium building.


I've always wanted to make a terrarium but was super turned off by the though of all the things I'd have to acquire, including charcoal, as some sources recommend (which seems like a huge mess).  Turns out it's quite simple. For the container, we were given the most giant mason jar I've ever seen. Building the terrarium simply involves layering rocks and soil, adding plants, and then embellishing with mosses, sticks, leaves, and other natural and non-natural trinkets.

Pictured: The rare exotic styrofoam bird

Go for texture as well as color.  Tim had foraged a lot of the ingredients he gave us, which sounds more fun and unexpected than going to the store and buying them.

Natural neon green. 

As it turns out, terrariums don't have to be covered (news to me), so I left the lid off since I had some plants sprouting out the top.

Looks like a long way down

We even got these cute little booklets with graphic instructions and room to take notes.

You know I loves a handmade book

In conclusion, terrariums—a mini world that's fun and easy to make.  I love giving plants as housewarming gifts and a homemade terrarium like this could be made so personal.  Also check out the cool stuff from JC Aquaria and Kanibal Home, who has an online store in case you're not local.

Tuesday, September 10, 2013

DIY Quick and Easy washi tape bunting


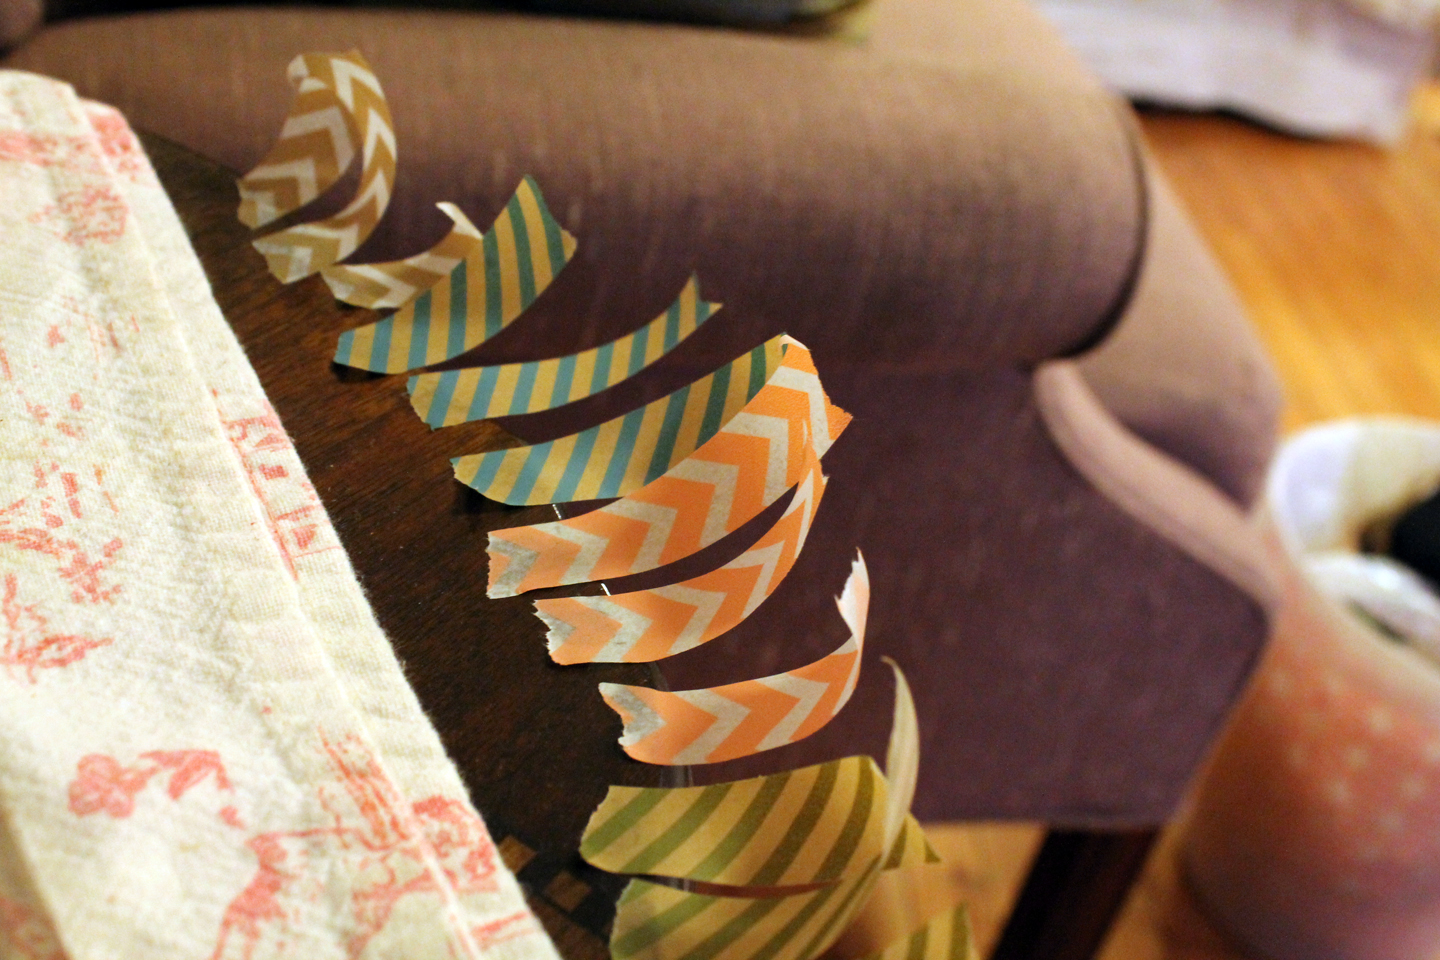
Here's another quickie garland to add to your repertoire, adding to the 20 minute paper button garland I posted a few months back. This project is very simple and doesn't require much instruction at all. Just fold small pieces of washi tape over a thin cotton string and snip the ends. I chose to do little Vs at the end of mine, but semicircles, fringe, patterned craft scissors—really anything will work here. Here are a few tips.

Pick washi tape that coordinates a little better than mine.

More cheery?

Tear off your tape ahead of time and line it up so that you can work quickly.

Mise en place

It will be easier to put the tape on the string if you have it at tension, so tie or tape it between two stable things.

Tighten up!

When you reach your desired length, find a pretty spot to put it, like a mirror or picture frame.  You can even tape each end to a skewer and pop it atop a cake!


Monday, March 11, 2013

Quick Personalized Stationary

As you can probably tell from my frequent post about cards, I love sending mail. When a boxed card just won't do, and you are short on envelopes, it's easy to whip up a quick, personalized bit of stationary using stamps, cover stock, and some fun paper. 

Leave a pretty note on the car you hit and the owner can't be mad.

To create a unique envelope, simply deconstruct another envelope (make use of that junk mail), trace the shape onto scrapbook paper or some other lightweight paper, cut and reassemble.  Cut your cover stock to fit inside and adorn with your personal monogram or anything else you can come up with.  Don't limit yourself to stamps either!  Now you can write your correspondences like they are always doing on Downton Abbey when they aren't killing off main characters.

A heartfelt apology.

Now you have a very personal note ready in 10 minutes or less!  I'm sensing a "quick and easy" theme starting to emerge for March.


Monday, March 4, 2013

20 minute paper "button" garland

With a spare gap of time before dinner, and an itch to do something crafty, I made up this quick paper garland with in just a few easy steps.  All you need is the right tools and 20 minutes--it's easy as pie!

Spice up your generic lamps

Thursday, February 14, 2013

Happy Valentine's Day!

Happy V-day! 8-bit style love to my readers!

Conversation heart puffy stickers by Hallmark courtesy of Dad.

Tuesday, January 8, 2013

Impromptu watercolors on a Tuesday night

With the craziness of the holidays, moving, and wedding invitations, I didn't get to do much freestyle creative.  On Sunday night, I promised myself to do something creative this week that was just for myself, and for no reason.  So here's a little watercolor design inspired by my coasters and a book on historical pattern design, just for fun.

Camera 1:
The apartment has great windowsills

Camera 2:
Yes, this could be a coaster

Monday, December 24, 2012

Cookies!!

Although crafts have been lacking lately, baking has been in full swing.  I've done a little experimenting with food photography in the process.  Here are a few of the delicious sweets I'll be fattening up with this holiday season.

Spiced ginger cookies. Ornament not edible

Rumballs, looking suspended

Snowy tree macaroons

A few more varieties, boxed up for giving

Not really one for keeping cookbooks, all the recipes are online:
Lemon Whippers (seen on the right side of cookie box)
Macaroon trees Note: The recipe calls for 5 tsp of vanilla extract but I found the 3 was sufficient or they will be runny
Chocolate and butterscotch dipped shortbread. I followed the recipe for cookies and then dipped mine in melted butterscotch or chocolate.
Easy Oreo truffles I substituted mint Oreos and mint chocolate and they are always a hit!  But keep refrigerated until serving or they get melty and no one will eat them.

Yummmmm!

Sunday, December 23, 2012

Making this year's holiday cards

Truth be told, I was pretty unmotivated to make Christmas cards this year, or even writing out store bought ones.  But after a lazy afternoon of watching Home Alone, inspiration struck.  I freehand carved this design into a speedball speedy-cut rubber block, and went for some glitz by using metallic inks.


Here they are drying on my clothing rack (a very good place to dry cards)


I even did a little experimenting with red paper and leftover white ink, which I'm totally diggin'.


The festivities start tomorrow night for my family, and the weather is predicting a possible white Christmas.  Well, 1-3 inches which will melt immediately but I'll take it!

Friday, December 21, 2012

DIY Christmas gifts for my bffs

This year, a few of my very good friends will be getting some very special Christmas presents: Ke$ha themed ornaments.  Be honest music elitists—Ke$ha sings a good party song. And although I don't really consider myself a party girl, my friends and I won't deny it's fun to dance around to her raunchy, catchy jams.  Now that I've defended myself I'll show you what I've created.

Hey girl, hey
These mini bottles purchased from Amazon were filled with glitter from confetti.com in the party rockin' shades of watermelon and prisma silver (because I guess there are a lot of silvers). I created the labels in photoshop with lyrics from her infamous single Blow, "Go insane, go insane, throw some glitter, make it rain."

Words to live by

In case you haven't seen the video, it stars Dawson Leary so I highly recommend watching it.  Tie some hemp cord around the bottle neck and you've got a top Christmas present perfect for the friends you met in Catholic school.

The hollerdays are a special time of year
It's pink, so you know it's for girls

Party on, friends.

Wednesday, October 3, 2012

DIY driftwood jewelry holder

Several months ago, I went trolling around the New Jersey side of the Hudson River bay on the hunt for driftwood.  Among the discarded styrofoam cups and syringes was a gem of a piece.  At about 2.5" x 1" and about 2 feet long, it had just the right amount of wear that I knew I'd one day find a purpose for it.  That day turned out to be last Saturday, when I finally used it to create this jewelry holder.


Making it was a piece of cake! Read on to learn how.

Thursday, May 17, 2012

A Busy May

This month has been so much non-stop creative action that I haven't been able to post the hot little pieces I've been working on.  Here's a snapshot of what's been going on around the studio this past month.

From the top: A carousel sketch waiting to for ink to be applied,
a succulent I struggle to keep alive, Mother's Day card from
Hello! Lucky, a watercolor save the date illustration

Hopefully I'm able to put up the full posts later this week! 

Sunday, March 18, 2012

Watercolor bridal shower invitations


When given the task of sending out the bridal shower invitations for a good friend, I couldn't just go with store bought ones and miss an opportunity to showboat.  But not only that, it was a chance to design something without a client; I had free reign to do whatever I liked.  

Since I'm in the midst of several wedding related projects right now, I've been hitting the blogs hard, and came across this excellent tutorial from Oh So Beautiful Paper and put my own twist on it.  I loved the idea of doing something two sided.  It added so much style to what could have just been a simple card.  After painting the watercolor flowers (check the tutorial for how to), I grabbed a few of them from the back in Photoshop, and used them to adorn the front.  Using old typewriter font went along with the vintage feel of the whole thing, and the delicacy of the flowers was partnered with a simple script.  One learning was not to make the watercolor too light, or the scanner won't pick it up.  

They were printed out on Neenah 110lb Natural White Classic Crest paper, which is tough to cut by hand, fyi.  The envelopes are Laid Continental Blue, picked up from Paper Presentation.  Beautiful and classy, much like the bride before she is corrupted at the bachelorette party.  More pics below!


Wednesday, February 8, 2012

It must be Valentine's Day

Valentine's day is less than a week away, so there's still time left to make a homemade card or order those pajama-grams that NPR is always advertising (that wouldn't be a good present for me).  I used to be a real V-day hater, but I've come to see it as just a fun, harmless holiday that doesn't have to be taken all that seriously.  So this year I've gone the "cute" route and made a watercolor card and a glittery bookmark.

A card


A glittery bookmark

Read on for more details.

Sunday, January 22, 2012

Chunky Infinity Scarf


I came across this crochet pattern on People Webs just before the holidays and immediately fell in love.  I've made three of them so far (and finally didn't have any mistakes on the third) and given two away as gifts.  This latest was a birthday present for my boyfriend's mom.  They are so warm and cozy, perfect for when you're too cheap to turn the heat up! And because it's so chunky it goes pretty quick; this one took one and a half football games.

The original pattern is here and there are many other pretty things on the site and at the Etsy shop, so check them out while you're there.  For my version, I used Patons Classic Wool in burgundy and a US M hook.

The pattern is much simpler than it looks,
even for this beginner.

Sunday, December 11, 2011

Glittery votive holiday candle holders


Who doesn't want to add a little sparkle to their holiday? The answer is no one.  These glitter covered candle holders are pretty enough to give to friends and family, but casual enough to give to that person who you aren't sure is getting you a gift, but if they do you don't want to be left with nothing for them.  Plus they're easy and quick to make!

Thursday, December 8, 2011

DIY Anthropologie-style paper trees


While in Anthropologie a few weeks ago I saw this paper pine tree among the holiday decor, and then went home and recreated my own version.  This cute, antique style tree makes a great decoration or gift and can be used through the entire winter.  Read on to see how to create your own.  

Monday, November 28, 2011

Crochet snowflakes are still cool

I'm coming out swinging into the Christmas season and kicking things off with a modern update to an old favorite, crochet snowflakes.


These cute, easy to make snowflakes probably conjure memories of your grandmother's Christmas tree, or that old lady neighbor who would give your family a little ornament as a thanks for putting up with another year of her crochetyness. But in spite of these associations, crochet snowflakes can be fun and fit into the modern home, free of doilies and those strawberry candies. 

I'm pretty new to crocheting (thanks, Pat for teaching me!), so this stuff is still new and fun for me to make.  To add a little twist, I've make a few different snowflakes and attached them together to make garland.  I won't get into the details of how to crochet, there are plenty of tutorials and videos out there, so I'm just going to tell you what I did to make my garland.  There are no less than a million snowflake patterns online so you could seriously do it up.  There's everything from super simple to pull-your-hair-out complex, and I've chosen pretty simple ones.  I'm making three different snowflakes, but the small ones are the same as one of the larger just with one less row, so it is really only two styles.  

Two different large, and one small. 

For the snowflake with the pointed tips in the center of the photo, I'm following this pattern.  For the other large snowflake and the small ones, I'm following this one, which has step by step images so it's great for a beginner.

For yarn I'm using Aunt Lydia's crochet thread size 3 in Iced Bamboo, which has a slight sparkle to it that unfortunately doesn't sparkle as much as I'd like, and a size E4 (3.5mm) J hook.  I want my chain to be pretty snowy so I'm making 4 of each large snowflake and 9 of each small for a total of 17 flakes.  A chain stitch (ch) will make the chain and the snowflakes get attached using a slip stitch (sl). 

Ready to be hung up

The pattern for stringing them goes like this:
Ch 40
*Slip stitch small snowflake, ch 20, sl large snowflake 1, ch 20, sl small snowflake, ch 20, sl large snowflake 2, ch20*
Repeat between * * 4 times
There should be one small snowflake left, sl it on and finish with ch40

Adorn your stairs if you have them

If you like, you can starch the snowflakes so they are stiff, but I prefer to let mine be soft.  They have a great vintage feel and look great draped on a railing or over a mirror (maybe in the bathroom?).  You can make the garland as long, short, big or small as you like by adjusting the number/type of snowflakes or the chain length. Or experiment with different colors and styles.  Plus, since it's not holiday specific, you can admire your creation all winter long!