

While in Anthropologie a few weeks ago I saw this paper pine tree among the holiday decor, and then went home and recreated my own version. This cute, antique style tree makes a great decoration or gift and can be used through the entire winter. Read on to see how to create your own.
The size of the materials can be adjusted based on how big or small you'd like your tree. This project has a lot of flexibility so you don't have to be super precise with a lot of the measurements.
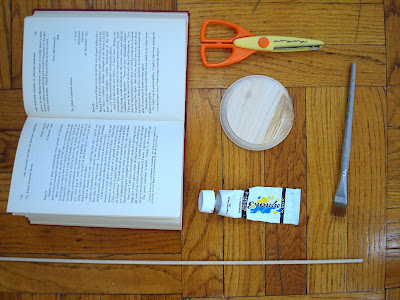 |
| Not all materials shown. Hey, give me a break! |
Materials:
- 4" diameter unpainted wooden base
- 3/16 diameter down, trimmed to 10"
- White paint
- White glue
- Good quality paint brush for applying paint
- Disposable paintbrush for applying glue
- X-ACTO knife
- Paper edger scissors
- An old book. Pages should be slightly weathered but still sturdy. Hardcover books work best. I picked one up at a used book store for $2.
- Mini plastic silver ball ornament
- White glitter (optional)
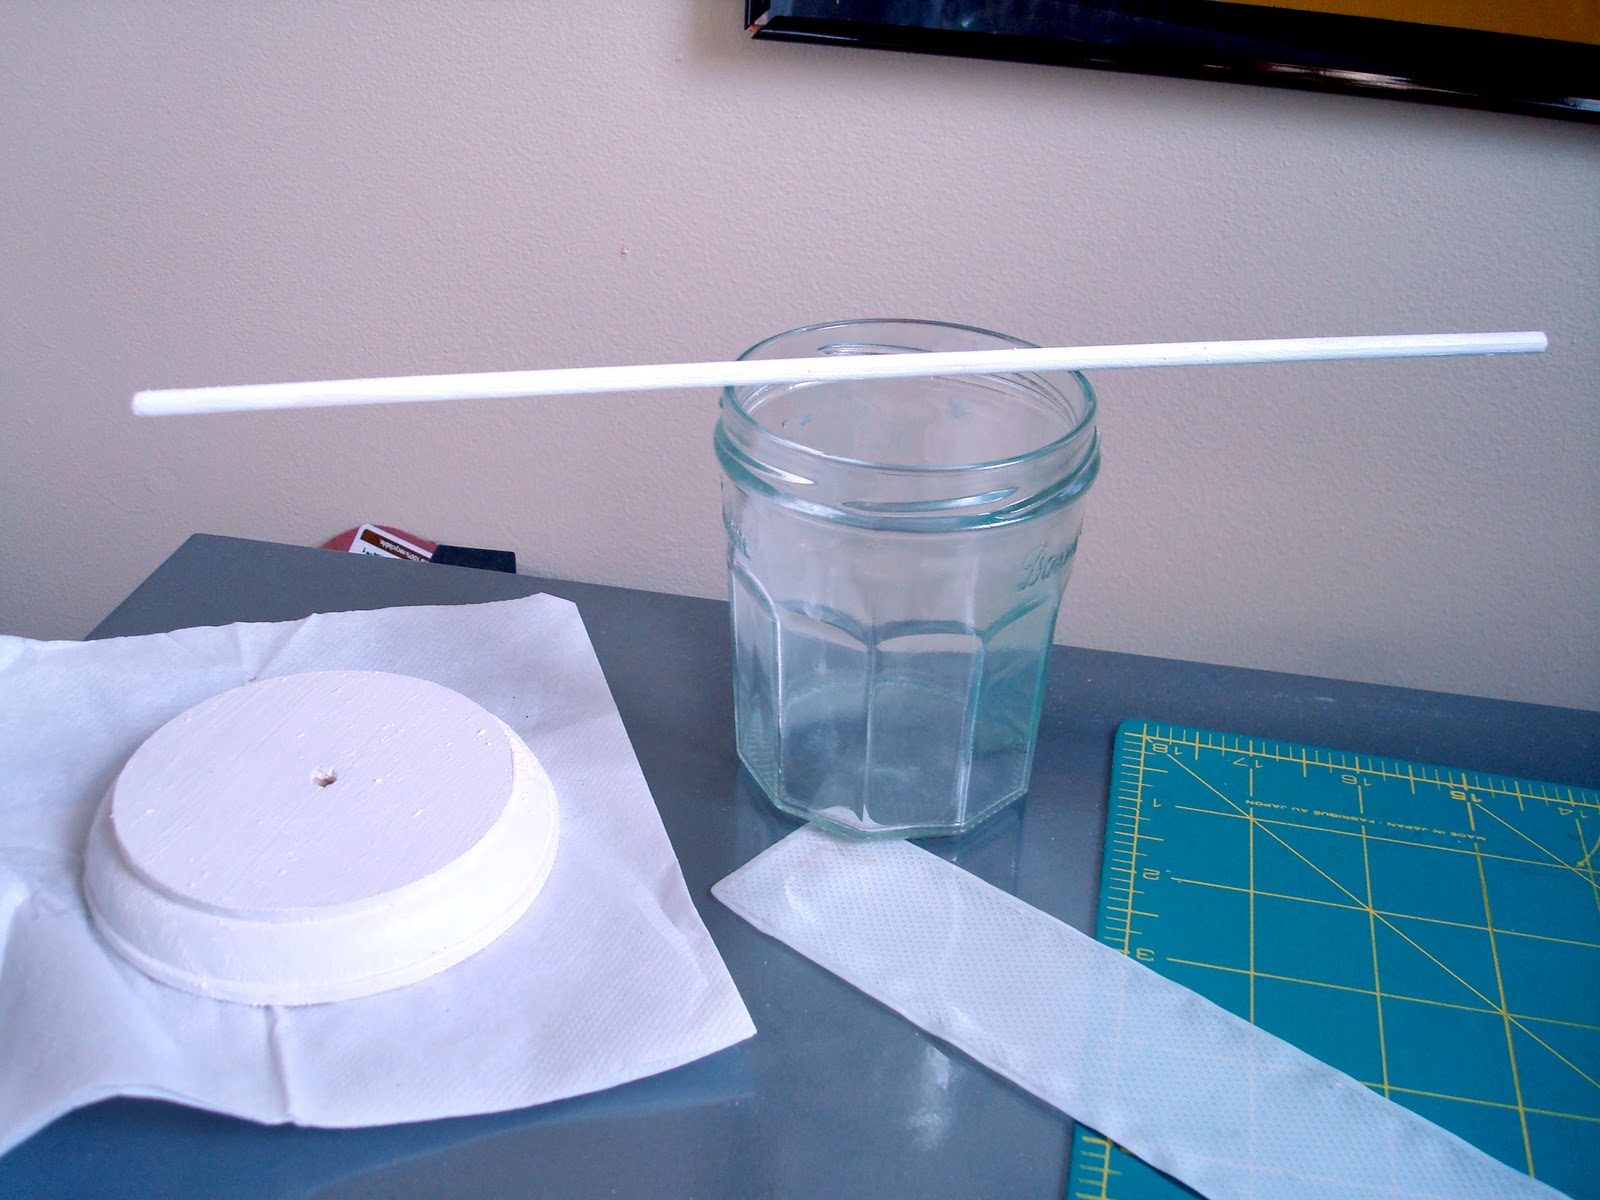
Step 1:
Drill a 3/16" hole in the center of your base and ensure the dowel fits snugly inside. If you don't have a drill gun, you can create a hole using a screwdriver and a self-driving screw.
 |
| Try not to make it crooked |
We'll be gluing these together later on, but for now keep them separated.
Step 2:
Paint the base and the dowel white and set aside to dry.
Optional: When the base is dried, paint it with white glue and give it a good coating of white glitter. Let dry completely and tap off excess glitter.
 |
| No touching! |
Step 3:
For the branches and leaves, start by cutting a stack of pages out of the book so you can easily work with the paper. Using the edger scissors, cut a few squares approximately 3/4" out of 3 or 4 sheets of paper together, so you'll have about 10-15 squares total. Cut a small X in the center.

Step 4:
Slide the squares onto the dowel, turning them in different directions so they aren't perfectly alighted. Leave about an inch of dowel on the top, and a keep a very little space between the squares (or at least between every other).
Step 5:
Repeat Steps 3 and 4, gradually increasing the size of the paper squares. This part is really up to your judgment and aesthetics, whether you want your tree fat or skinny. Make sure not to increase the size too much with each increment, or the tree won't look triangular. The largest square should be slightly larger than the base and there should be enough room left on the dowel to insert it in the base.
I saved one square each time I increased, so you can see about how much the size changed.
 |
| The largest is about 4.5 inches. |
Important note:
The squares should be put on the dowel as you go along, that way you can see if you're increasing the size too much or too little, if you have enough squares of each size, and how many more you need to cut. You basically have to work simultaneously on Steps 3 and 4. Here's how it should progress:

Step 6:
Once the dowel is covered in the paper, glue it into the hole in the base and allow to dry.
Step 7:
Take the mini ball ornament and removed the hook and cap. Turn upside down and insert into the dowel on top of the tree. If it isn't fitting perfectly, secure it with glue. If you pushed it too hard and cracked the top like I did, you can cover it up with glue and glitter–it'll look like snow!
 |
| Hey guys! |
Step 8 (Optional):
For a little extra sparkle, paint some of the paper edges with a light coating of glue and sprinkle with glitter.
And that's how easy and it is to create your own paper tree! As I said before, the size and style can be adjusted however you like–just adjust the size and amount of paper squares or dowel height. Here it is again.
|
| Bottle brush polar bear is from Macy's |
Here's a closeup of the glittery base.

No comments:
Post a Comment